Setting up Facebook Instant Articles for Your WordPress Site
Below are the steps used to setup your WordPress site with Facebook Instant Article. We’ll use the Instant Articles for Facebook plugin (version 3.1+). Your posts will then be enabled to appear on Facebook as Instant Articles.
*It is best to have admin access to the Facebook page associated with your site before starting this process.
1. Sign Up for Instant Articles
To take advantage of Facebook Instant Articles, you’ll need a Facebook Page that will be associated with the content coming from your website.
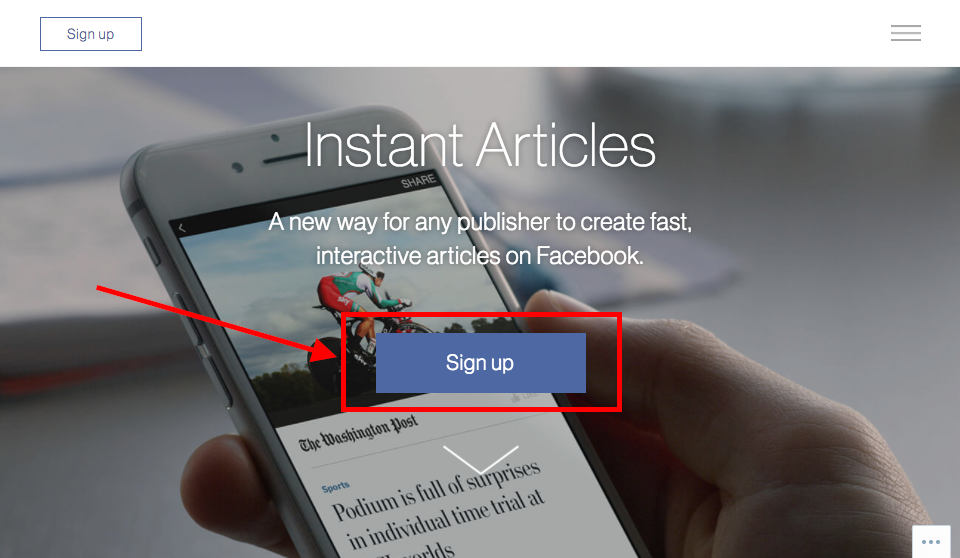
To Sign Up, ensure that you’re an admin on the Facebook Page that you would like attached to your website and login to your Facebook account. From there, visit the Instant Articles sign up page and click “Sign Up”.

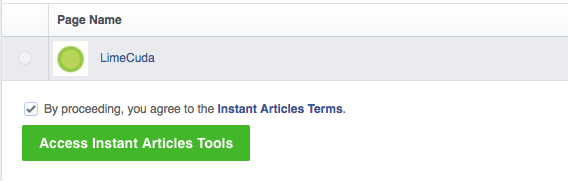
Next, you’ll want to select the associated Facebook page and click “Access Instant Articles Tools”

2. Create a new Facebook App
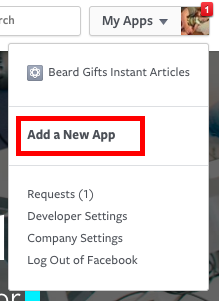
Don’t get scared! This step is actually quite simple. Just visit the Facebook Developer Center and click the “My Apps” section at the top right and select “Add a New App”

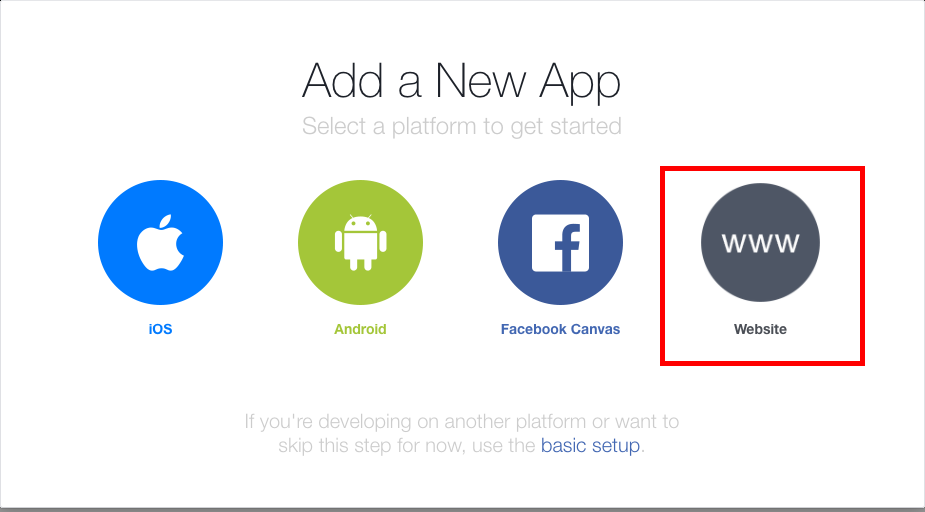
Select the “Website” option for you new App.

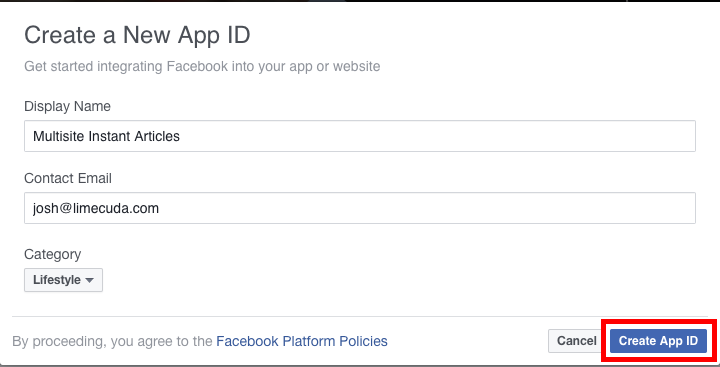
Complete the required information for the App and select “Create APP ID”

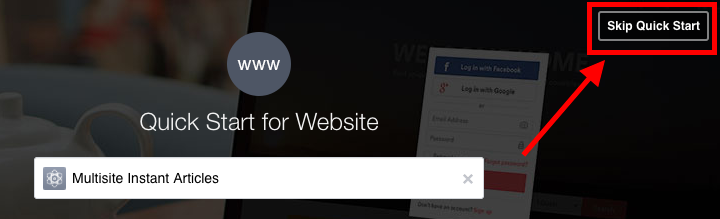
Once the App is created, you can select the “Skip Quick Start” to get to the main dashboard for your new App.

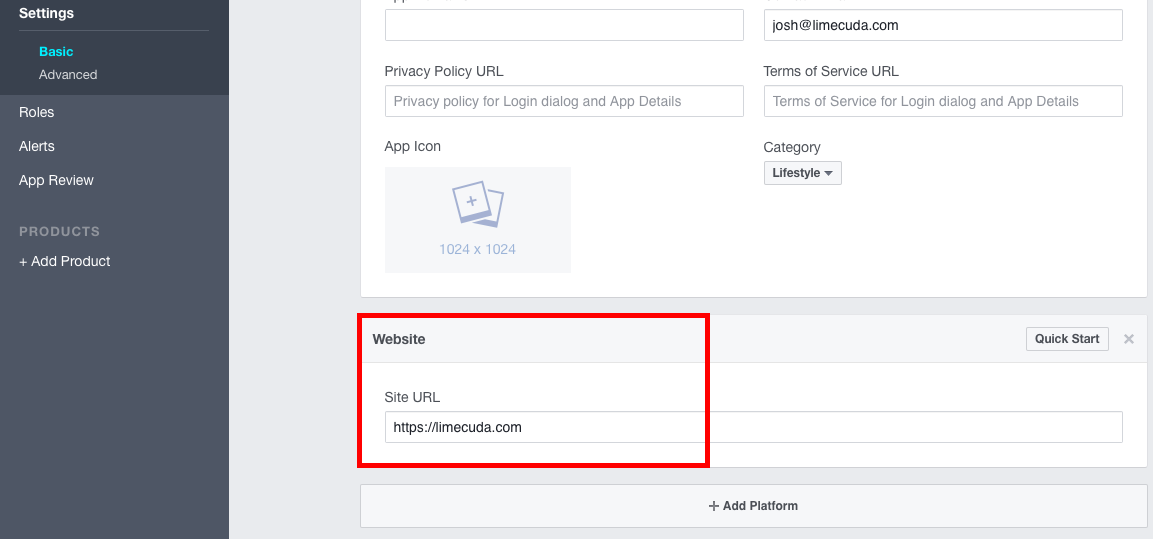
Now that you’ve got your app page, go to the Settings tab and include your site url for the app. To do this, click the “Add Platform”, select “Website”, add your URL and select “Save Changes”

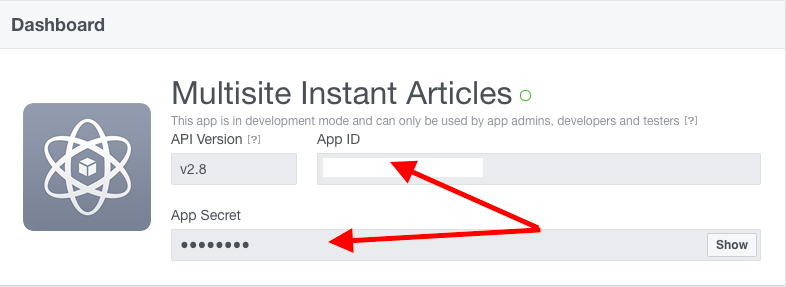
Now, the hard part is done! Just keep this tab open because you will be grabbing your “App ID” and “App Secret” from this page in the next steps.

3. Get the plugin.
Return to your WordPress dashboard to install and activate the Instant Articles for Facebook plugin from the repository.
4. Configuring on your site.
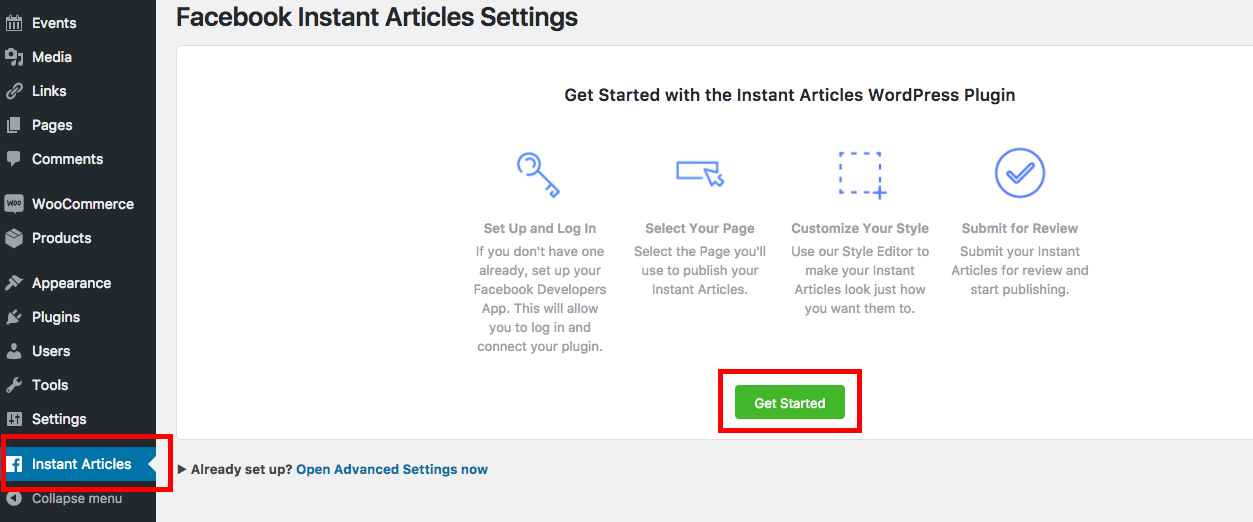
With the plugin now activated, visit the new “Instant Articles” section of your WordPress dashboard and click “Get Started”

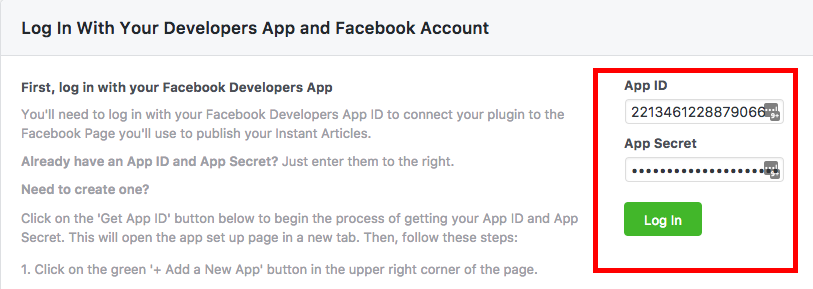
Next, you’ll add the App ID and App Secret created in step #2 above to the settings here and select “Log In”

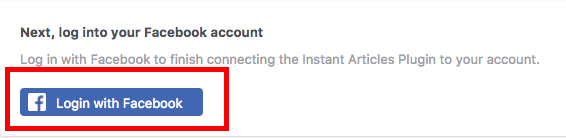
This app you’ve created will now allow your site to log in via Facebook and access the needed information for generating your Instant Articles. Click the “Login with Facebook” but that now appears and follow the prompts to allow access to your Facebook account.

*You may see some warnings above the facebook authorization when going through the process to allow access via your Facebook page. You can ignore these warnings, you won’t need to address those particular app issues in order to utilize the authorization for your site.
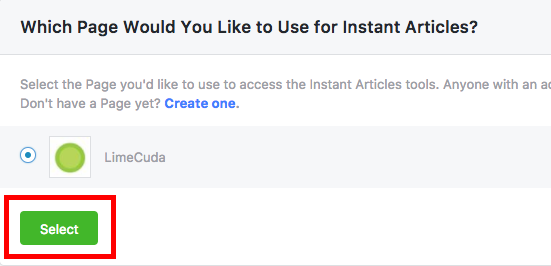
Once everything is verified, you’ll now be able to select your Facebook page within your WordPress dashboard. Select your page that you would like connected to this site (same as in step #1 above) and click “Select”

Your Facebook Page has now been connected to your WordPress site!
5. Customize your page layouts.
The styles and layouts for your Instant Articles will be controlled by Facebook. Unlike setting up pages for other services such as Google AMP, there won’t be any templates or modifications that you will control on your side of the equation. This will all be managed on the Facebook side.
So, once you have your page selected, click the “Customize” button to open the Facebook style editor for your articles.
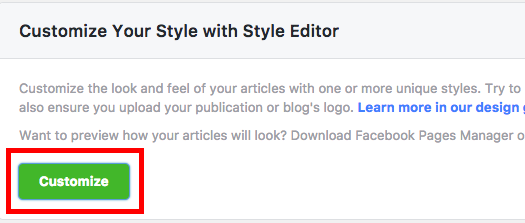

This will open up the editor in Facebook where you can control everything from logo image to text styles and colors. Before jumping through this process, you may want to go ahead and grab the hex codes for colors as well as different font styles used throughout your site so you can quickly get those adjusted in the settings here. Additionally, you’ll also want to go ahead and generate a transparent background logo for your articles that is at least 690px wide. A logo of this size will be required when uploading to Facebook.
Quick List of Design Assets to Have Prepped
- Logo with minimum dimensions: 690px width by 132px height (transparent PNG is best)
- Idea of the fonts used for headings and body text
- The hex color codes for Headings, body text, and links.
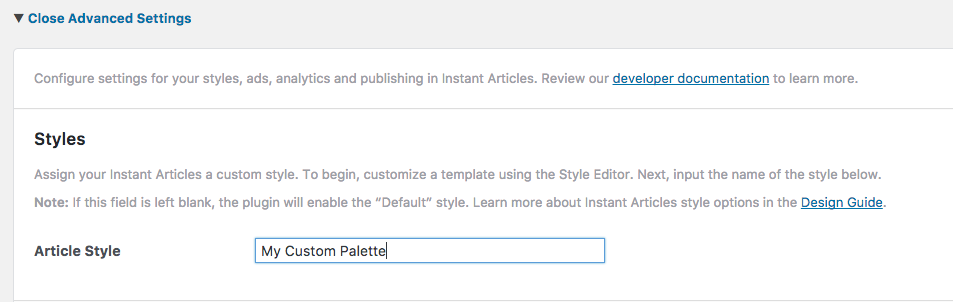
Once you have all of the above, you can go ahead and design your pages within the Facebook editor as you would like, being sure to create a custom name for your design.


This palette name will be used under the “Advanced Settings” section within your WordPress settings to tell Facebook to use this palette for your articles.

Once you’ve gotten the style that you like created, return to your WordPress dashboard and click “Next” under the “Customize” section.
6. Submit for Review
Review?! You mean we aren’t done yet?
The hard part is. Everything is ready to go, however, your articles do need to be reviewed by the Facebook team before you can start publishing Instant Articles. Don’t worry though, this process only takes a couple of days. Just click the “Submit for Review” and the plugin will take your 5 latest posts and submit Instant Article versions to Facebook for review.