Customizing Google AMP for WordPress Introduction
Customizing Google AMP for WordPress
- Introduction
- Styling Your AMP Pages
The idea behind Google AMP is pretty exciting. A new javascript library and specialized markup designed specifically for extremely fast performance of our web pages. Google will be rolling out these AMP links in their general search results so getting AMP for WordPress set up on our sites should definitely be on our radars.
Current Plugins
AMP for WordPress
WordPress has an official plugin that will get the posts on your site ready for Google AMP. When activating the plugin, you’ll instantly get a basic AMP ready version of each of your posts that can be found by adding “/amp” to the end of your post URL.
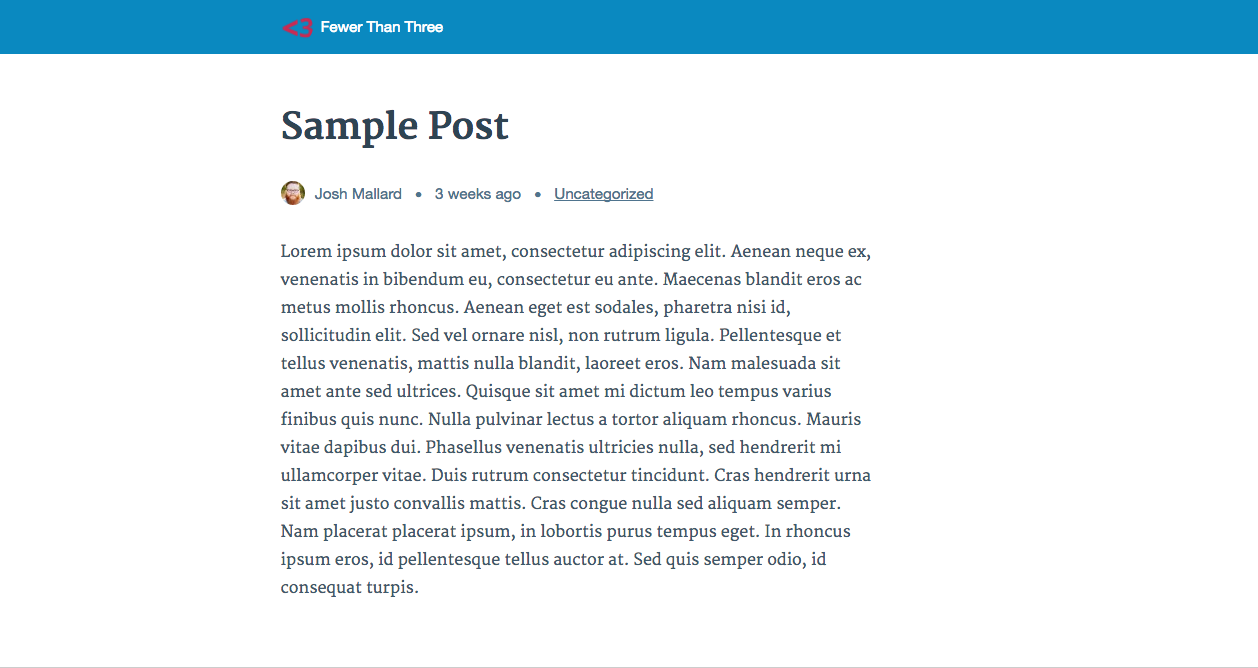

Above is the default layout for the new AMP pages when activating the plugin. Not very inspiring is it? But, we can quickly customize these views to better match the design of our sites.
Before I dig further into the customization, I do want to point out a plugin that may be a good fit if you’re not into making some of these changes on your own.
A Plugin for Custom Styles
If you’re already using the Yoast SEO plugin, take a quick look at Glue for Yoast SEO & AMP. This will allow you to integrate some additional meta modifications into your AMP page output, register the AMP functionality for other post types, and provide custom styling controls directly within your WordPress dashboard.
This is definitely a viable approach if you’re looking for a quick solution for some basic modifications of styles.
A Plugin for Styling Here Just Isn’t My Cup of Tea
However, my biggest argument against this would be the source of the functionality. The Yoast SEO plugin is awesome and we use it on almost all of our customer projects. We also have their premium licenses and regularly use those on client projects as well. So, when I say that the issue is the “source of the functionality” this definitely isn’t a knock against the plugin or its developers.
The concern is that the AMP customization functionality isn’t core to the Yoast SEO plugin and the expertise that it provides. As a general rule, we try to avoid using plugins for more than a single purpose. It helps to reduce the risk of exposure when issues arise within those plugins.
Besides, the customizations here are actually quite simple to manage. By taking the time to figure them out on our own, we better understand the plugins, making it much easier to handle further customizations that go beyond what is available as options in these other plugins.
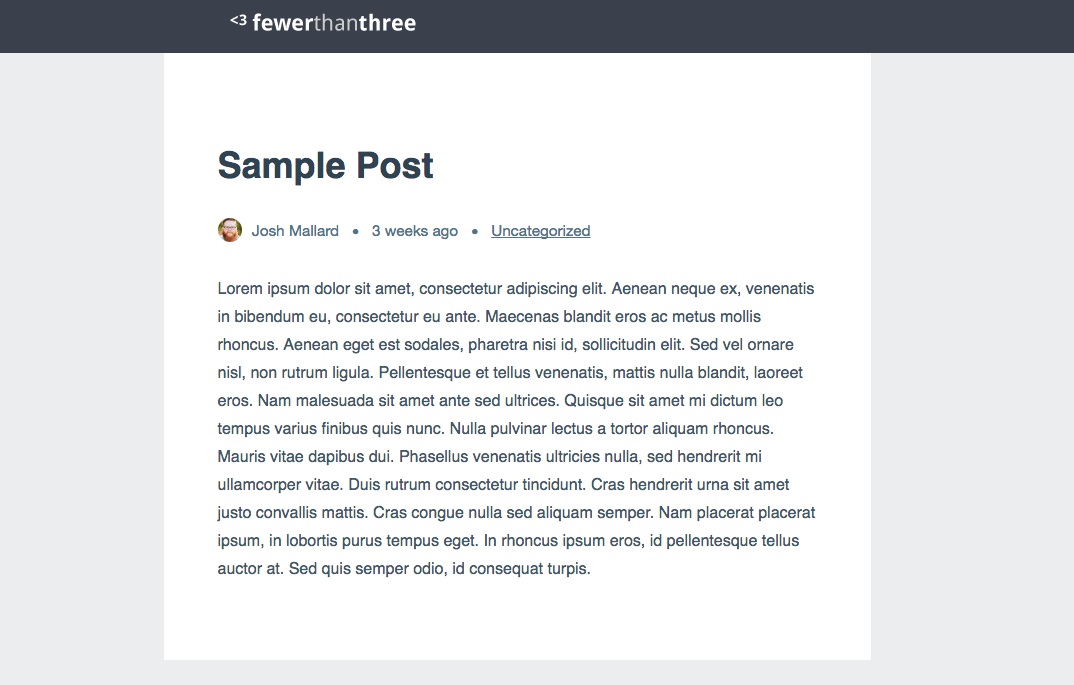
So! You ready to dig in a little here? If so, we’ll take a quick look at a couple of quick customizations that I did here to get my default AMP pages from where they were in the image above to where they are now:

Adding support for Custom Post Types
By default, the AMP features available within the plugin will only get applied to your WordPress posts. However, you can add the feature onto any other post type used on your site by adding support for it. For example, this would be a snippet that I used on this site to get the AMP feature running on my “tutorials” custom post type.
Customizing Templates
When first looking at the plugin files and the associated templates, it can feel a bit restraining. Not being sure exactly what can, or even should be changed, can make things desperately confusing.
However, we can completely override all of these templates by adding them to our theme or within a custom plugin. This means, we can take the automatic templates and completely customize them to be whatever we want them to be.
For me, I chose to go the plugin route. I added the above code for the post type support to the main plugin file as well as the following filter:
Now with this code added, I can copy all of the AMP templates from the plugin and copy them into an “amp-templates” folder at the root of my own plugin.
With this in place, we can do whatever we like to our templates using the appropriate AMP markup.
Subscribe To Get Notified of the Rest of This Series
Now that we have that in place, we can dig a little further into some other customizations. For the next parts of this series, we’ll look at:
- customizing the site logo
- customizing the site colors
- including additional elements to the post layout
- showing our completed AMP Customization plugin
- validating our customizations
Sign up using the form below to get notified when these additional posts are available.