How to Enable Let’s Encrypt SSL on Your WPENGINE Website
Learn how to enable a WPENGINE website to use HTTPS (SSL / TLS) using Let’s Encrypt.
“Click Let’s Encrypt. Click ‘Yes’. Gett [sic] https on the front of you domain thing.”
– Josh Horneck
This is super easy to enable. Just a couple quick clicks.
However, if this is an existing site you’ll need to take some extra steps to make sure this migrates right!
Tutorial Version 1.0
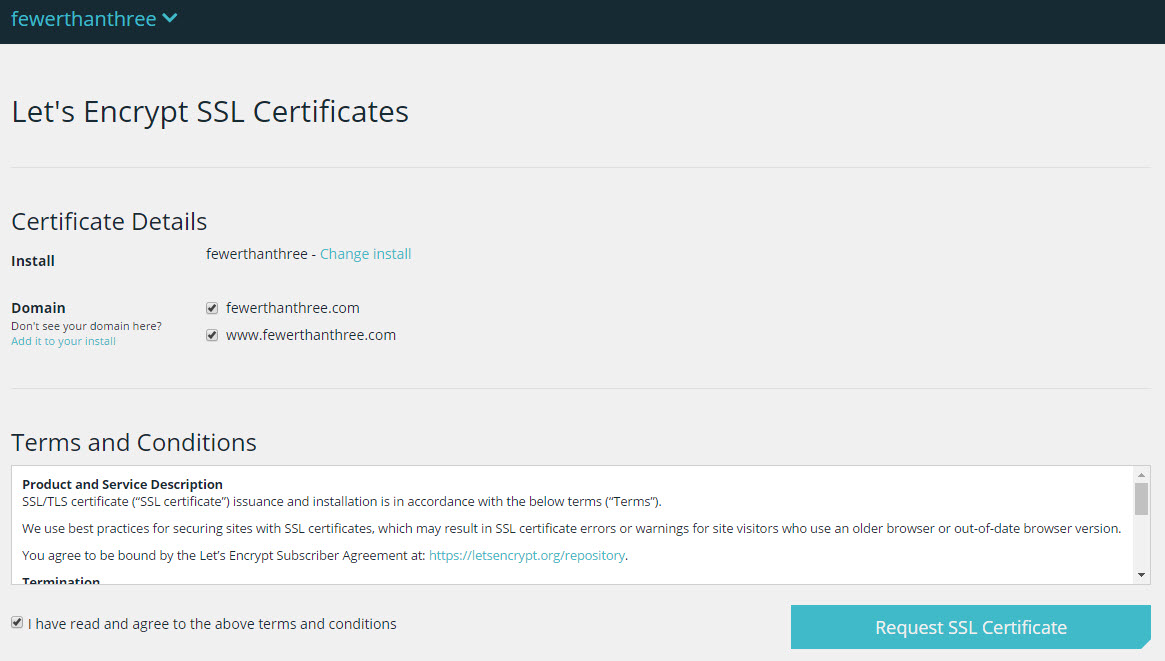
1. Navigate to SSL section on Your WPENGINE install
Follow the prompts to get them to set up the SSL Certificate.

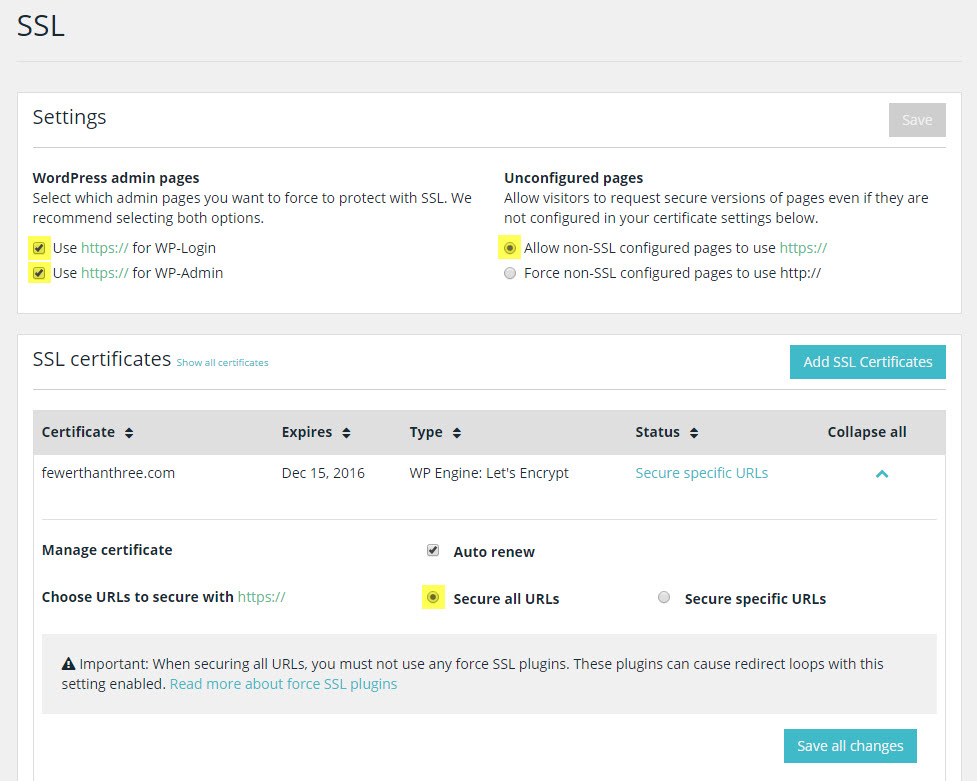
2. Configure the WPENGINE SSL Settings
Make these 4 adjustments to the SSL settings after the certificate has been enabled.
You absolutely want to enforce SSL on the login and admin pages. It makes sense to go ahead and force the entire site to be always-HTTPS – you don’t want multiple versions of pages out there – bad for SEO.

3. Properly Migrate to HTTPS
If this is a completely new site then this is much simpler. HOWEVER, if this is an pre-existing website you absolutely need to take steps to make sure you’re migrating correctly or you risk destroying your SEO.
We’ve written an extensive guide to properly migrating a WordPress site to HTTPS.